Review of Haida's New M10 Filter System
M10 Filter System
Test and Review
By
Chris Ewen Crosby
Having a slide in filter system is something that all landscape photographers eventually look to as something to improve their images. Filters can be a great tool to have in your camera bag for when the conditions require them. Neutral density filters are the most commonly used filters in these systems and usually used to lengthen or even out an exposure. I use graduated ND filters for most golden hours to darken the sky and I can’t imagine working by the ocean without them.
A few years ago I started my adventure into a slide in systems with the LEE Filters system. I was happy with the functionality of the system, but the quality of the filters was less than I had expected. The graduated filters were made of resin! I just spent $2000 on a lens so that I could put plastic on the front? Anyone with more than a bird brain can figure out that is not optimal for image quality. The resin filters scratched easily, were poor optical quality and produced an orange cast. After some use of the LEE system I realized that I needed better quality glass in front of my lens.
Haida 100-Pro Series System
I was introduced to Haida by @jamesliuu about a year ago. Anxious to find something better than my current system I gave their system a try. I was extremely pleased with the quality of the glass. The graduated filters were optical glass, had no color cast, were scratch resistant, and cleaned easily. In the past year my grads still have no scratches on them, something that never would have happened with the resin filters I had. I also love that they clean easily. I am often shooting by the ocean and water always seems to get on the filter. A quick wipe with a cloth and the filter is clean with no residue left behind. One of the most noticeable differences was the image quality that I got using the filters. The colors and detail were stunning and I noticed the difference in my images right away. However, as much as I loved the glass, the Haida Pro-100 system wasn’t as easy to use as my Lee System in the past. The 100-Pro series was innovative for putting the CPL behind the filter holder allowing for less vignetting. However taking the Pro-100 system on and off or changing the CPL was an issue and there was a need for a quicker system. If I could only have the Lee functionality with the Haida glass quality I would have the perfect system.
Haida Filter recently came out with a new filter system, the M10, and I jumped at the opportunity to take a look to see if there had been improvements made in functionality. I had not seen the system prior to receiving it, so I had no idea of what to expect. I was pleasantly surprised when I unboxed the new system as it was just what I had been wishing for and more.
Haida M10 Filter Holder
While the new M10 system was close to its predecessor, it was all new and refined for easy use. The system came with more robust filter rings for use of a new clip-on filter holder, similar to my first Lee System. I love it. It takes a mere 2 seconds to take the holder on and off using the spring loaded red clip on the side of the holder. This feature is a huge win for speed and ease of use of the system.
New to the M10 was also a drop in filter slot behind the filter holder. In the old 100-Pro system you could screw in a CPL to the filter holder, but the holder had to be removed to do so and was time consuming. Now with the M10 you simply drop in the CPL, which comes with the holder, to the back and it locks into place. You can see the 10 Stop ND version and CPL of this drop in rear filter in the images above and below. This is a huge win by speeding up the use of system so the user can focus on capturing in the field. The drop in system also helps when using a 10-stop ND because it really blocks light well. There is virtually no way for light to seep into the back system when in use. I love this new option as some midday uses of a 10 Stop ND had light seepage using the 100-Pro.
Haida M10 CPL for back of holder
The new back of holder system now allows for some more options in addition to just a CPL. The back drop in filters are available in ND 0.9,1.8,3.0,4.5,CPL,Clear-night,GND-0.9,1.2,ND+CPL 0.9, and 1.8. Now you can drop a variety of filters in the back of the holder and stack up to 3 additional filters on the front of the holder, such as another ND or graduated ND. The options are many depending on your filter collection and you can really get creative with filters using the new system. A set up that would come up often for me is with the CPL in the back of the holder then a 10 Stop and/or Grad ND on the front of the holder. The M10 makes putting on the CPL a breeze compared to the 100-Pro and I won’t shy away from using my CPL in the future. One thing that you should consider using this system is that you may want regular 100mm ND’s for the front of the holder as you cannot use the drop in CPL and ND at the same time. If you are using the CPL on the back then you’ll need square ND’s for the front. This is maybe the only negative point that I have with the new system. You ultimately don’t need the back ND’s if you plan on using the CPL with any other ND, however, the back ND system has much more light prevention and is one I’d rather use if I didn’t need the CPL. So what you end up with is maybe wanting both ND’s for back and front, but not needing them. I don’t find myself shooting with a CPL too much so I will definitely invest into the drop-in rear ND’s, but I will also have square filters for when I do need to use a CPL. I should mention that they provide a light barrier or filterless ring to put in the back slot when it is not in use. It must be used when not using a filter in the back slot to prevent light from coming in behind the holder, which it does a great job at. See the picture below for a view of the clear ring in the holder.
Haida M10 Filter Holder
One last improvement that was added was a brand new case for the filter system. The new case is a hard, leather like shell which splits using 2 zippers, much like an old cd case. The new case feels much more studier, an improvement that is welcomed due to having a CPL as part of the system. The inside is a soft, short velvet. I feel confident that everything is protected no matter where it is in my bag. If you were to imaging the case open, one side is molded to fit the filter system and then other has a mesh pocket to store your filter rings and the clear ring for light protection. I should mention that the case also has a carabiner so you can clip it on your belt, bag or tripod if you need to.
So is the new M10 the answer to my issues with the Pro-100? Absolutely! The new system is streamlined for a more user friendly experience with it’s new clip on filter holder and rear drop-in filter system. This is a system that any pro or novice will enjoy using. It’s simple to understand and easy to use, but it performs like a dream. If you are just getting into these filter systems I’d strongly recommend beginning with Haida. It not only meets, but exceeds what I expected to see from a new Haida filter system. It is by far the best system that I’ve used thus far and I’m really happy that it’s in my bag.
I’d love to hear your filter experiences and answer any questions you might have about this system. Drop me a line in the comments below or send me an e-mail to info@chrisewencrosby.com
is a landscape photographer from Southern California creating unique and powerful landscape images.
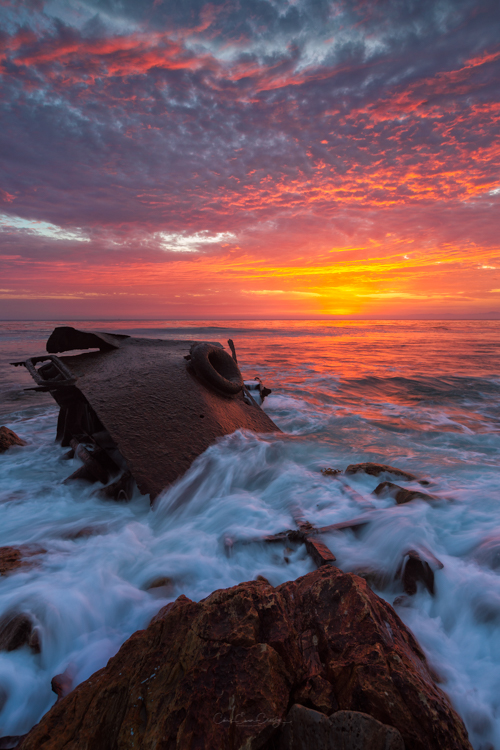
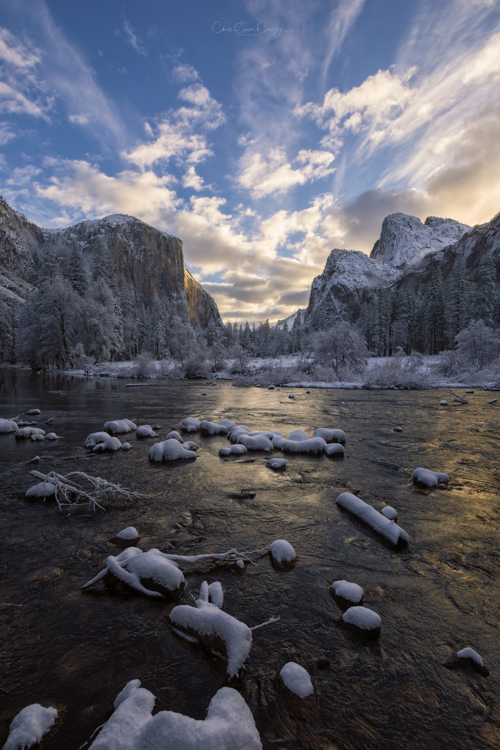
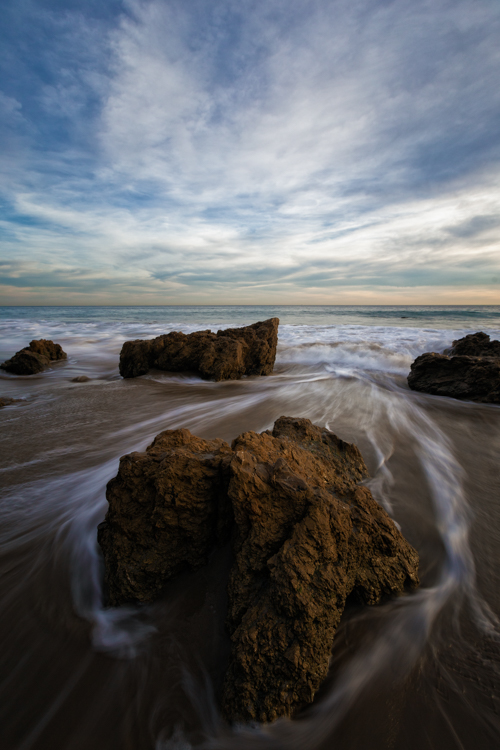
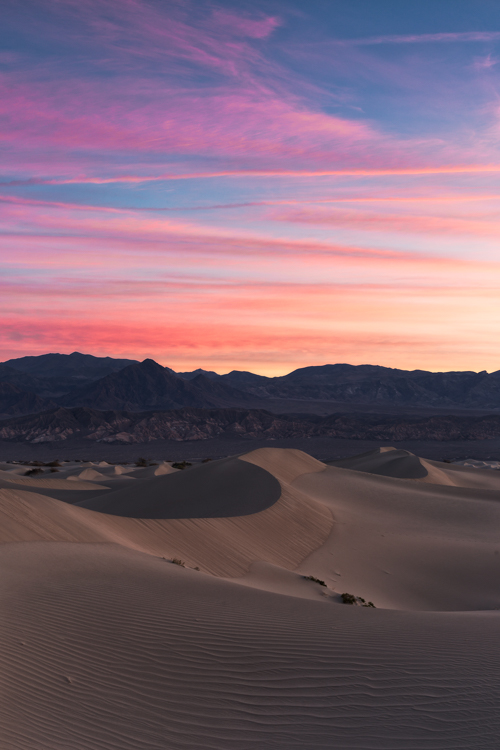
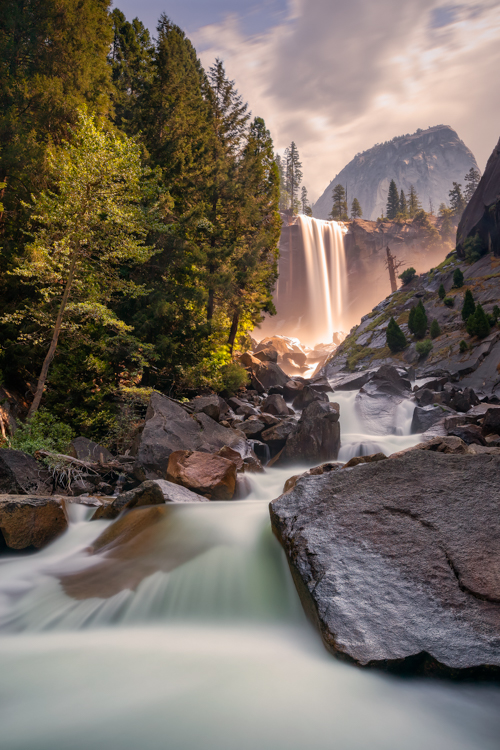
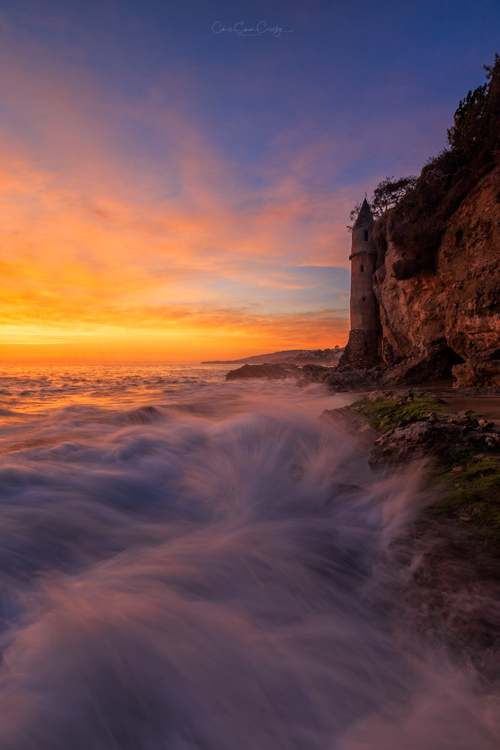
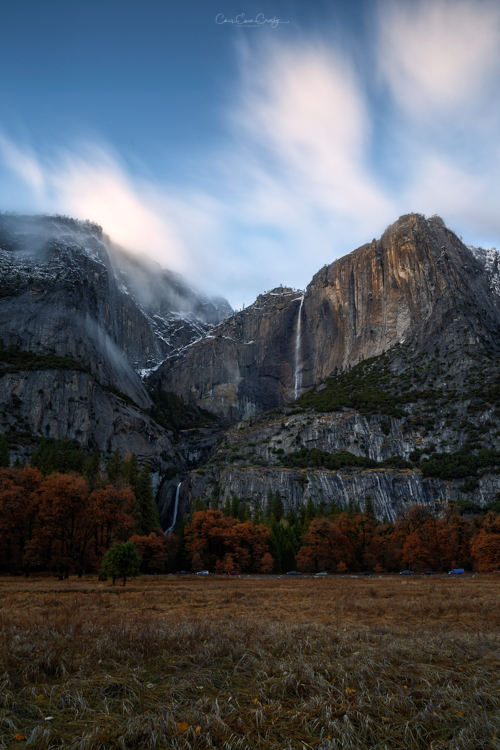
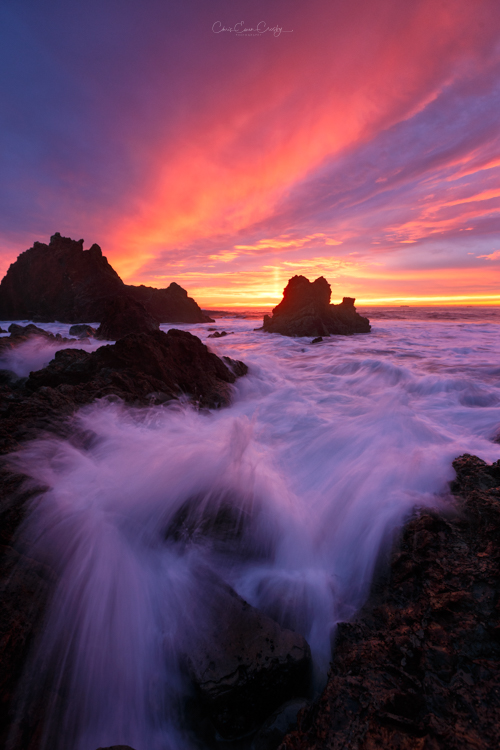
See a gallery below of images created using Haida Filters. All are images available for purchase in my shop, click an image to see about printing.


